
Improve with Blink
A menu-bar AI copilot that answers what is on your screen and what is being said in your meeting, streamed into a panel that only you can see.
macOS. Installs with one command.
Capture the context.
Ask when you’re ready.
Multiple screenshot for context.
Blink supports multiple screenshots for context and answers when you need.
Turn on Monitor. Use ⇧⌘2 to capture a region, or ⇧⌘1 for the screen. Capture again to add another screenshot.
- Capture a region
- ⇧⌘2
- Capture the screen
- ⇧⌘1
- Ask Blink
- ⇧⌘Return
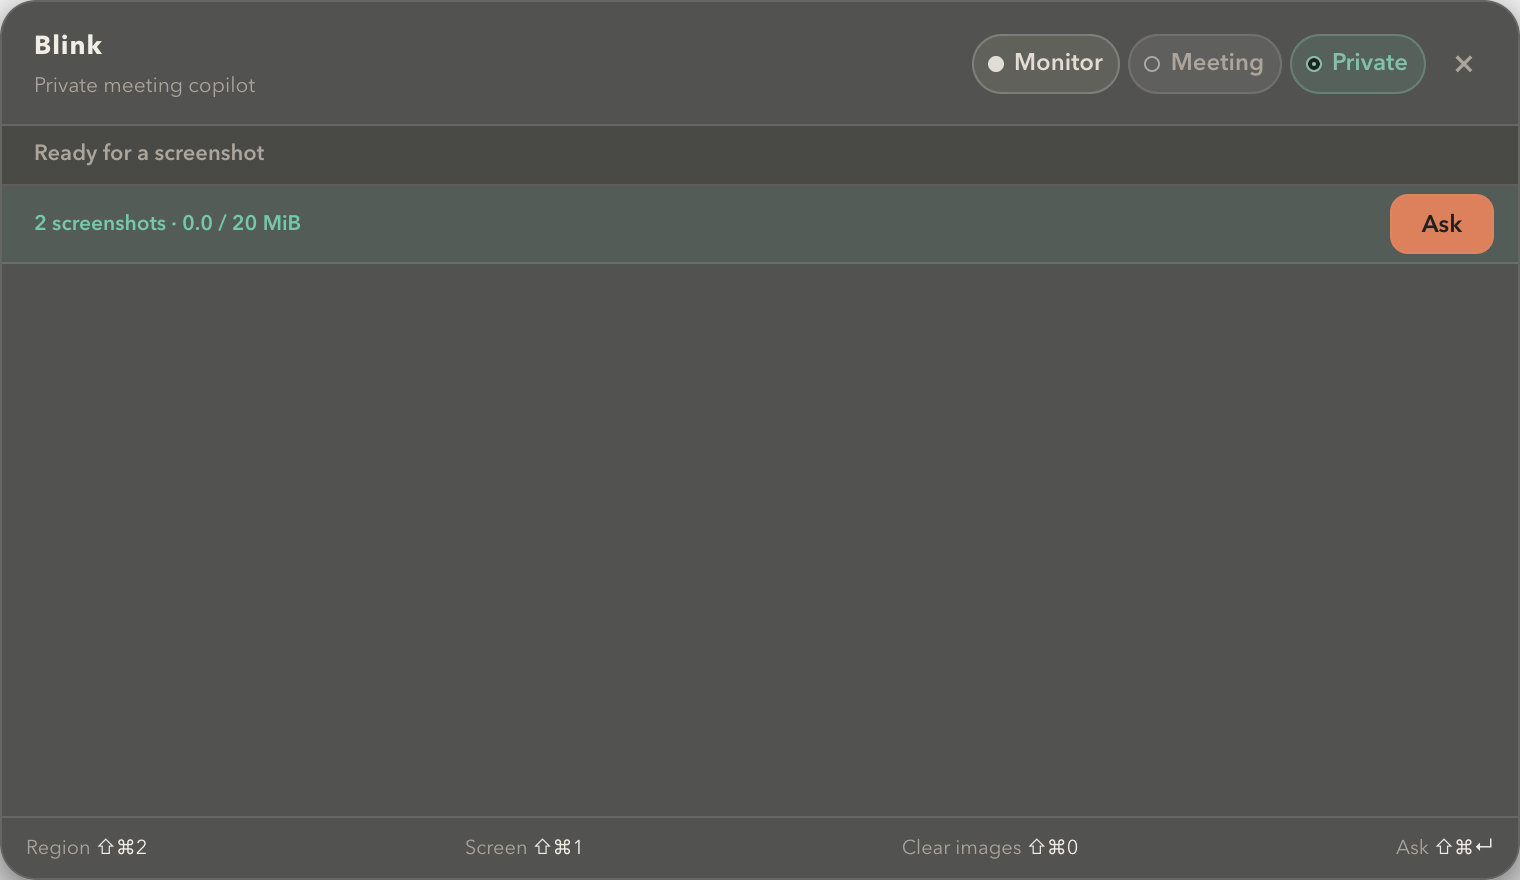
Two screenshots are staged. Nothing is submitted until you Ask.
Three steps
Blink installs through Bun and runs as a menu-bar app.
Before you start
One-time setupPrerequisite: Install Bun in Terminal if you don't have it. Otherwise, skip to the Blink installer.
curl -fsSL https://bun.com/install | bashAfter installing Bun, open a new Terminal window before continuing.
Subscribe
Checkout runs on Stripe. Afterwards you land on a claim page that shows your access token exactly once. Store your access token in a safe place.
Choose a planInstall Blink
Install Blink in Terminal and paste your access token when asked.
bunx @dualityinstitute/blink@latest installRun
Start Blink, grant screen recording and microphone access when macOS asks, and turn on Monitor or Meeting from the menu bar.
blink
Subscription
Choose monthly or annual billing. Every subscription includes personal support.
Support for subscriber
Email us anytime, 24/7, for help with installation, using Blink, or any questions along the way. We guarantee a response within 24 hours.
Blink
Billed monthly
- Undetectability
- Live transcript
- Meeting real-time answer
- Prompt customization
- Access to latest AI models
- Extended monthly usage credit